

Choosing the wrong bathroom tile size is one of the most common – and most expensive – mistakes in bathroom renovation. Get it right and the room looks considered, proportionate, and well-planned. Get it wrong and even premium tiles can make a space feel awkward. This guide gives you a clear framework for matching tile size to bathroom type, surface, and layout.
Why Tile Size Matters More Than Most People Expect
Tile size directly affects how large a bathroom feels, how long installation takes, and how much the finished room costs to maintain.
Size determines the number of grout lines across a surface. More lines create visual busyness; fewer lines create calm. In a small bathroom, that distinction changes how the entire room is perceived.
Tile size also affects waste percentages, adhesive coverage, and installation time. Larger tiles cut more slowly and need a flatter substrate. Smaller tiles are more forgiving of uneven walls but require significantly more grouting.
Standard Bathroom Tile Sizes Available in the UK
UK tile retailers stock sizes from 50 mm mosaics to 1200 mm × 2400 mm slabs, with the most popular formats falling between 300 mm and 600 mm.
Understanding the standard range prevents costly ordering mistakes. Tile sizes below are the most widely stocked across UK suppliers:
- 50 mm × 50 mm / 48 mm × 48 mm — mosaic sheets; shower trays, feature walls
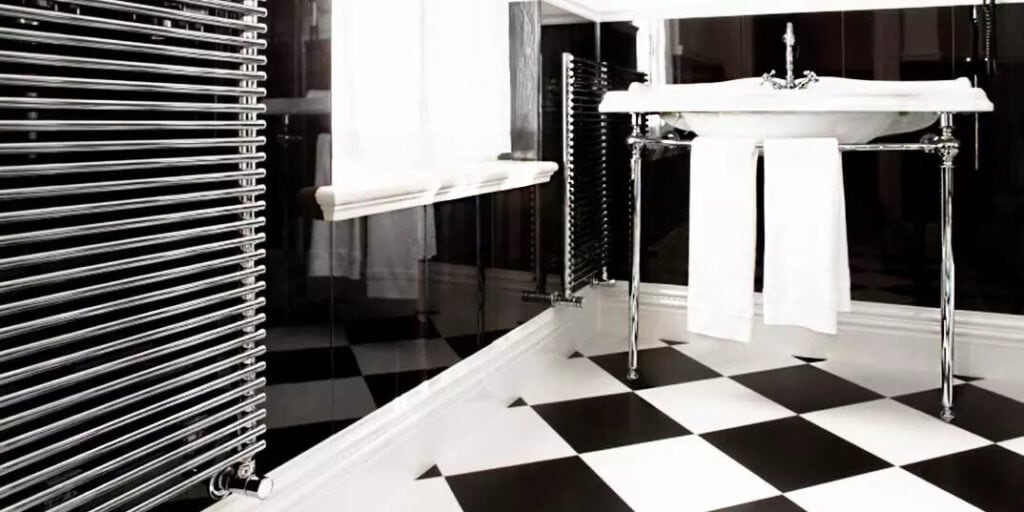
- 100 mm × 100 mm — small format; period-style bathrooms, splash-backs
- 150 mm × 75 mm / 200 mm × 100 mm — subway format; walls, vertical or horizontal
- 300 mm × 300 mm — standard floor tile; versatile, widely available
- 300 mm × 600 mm — the UK’s most popular wall tile size
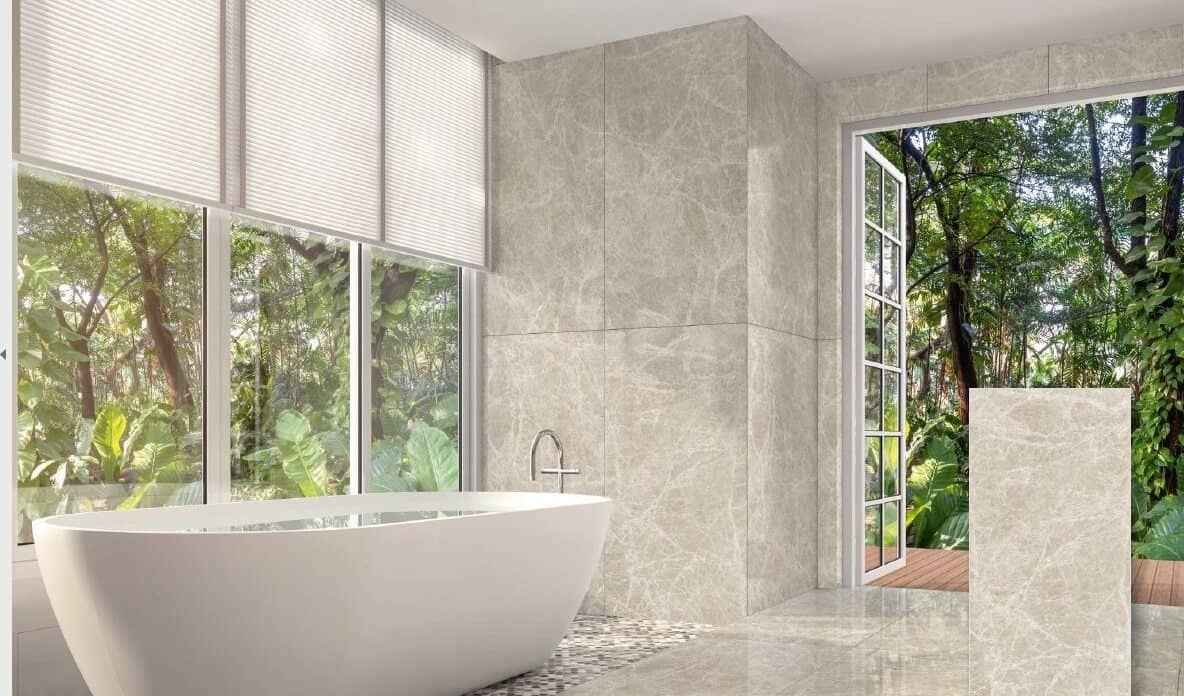
- 600 mm × 600 mm — large format; floors and walls in mid-to-large bathrooms
- 600 mm × 1200 mm — statement format; requires flat substrate and skilled installation
- 1200 mm × 2400 mm — slab format; premium projects, minimal grout lines
Sizes outside this range are available but typically special-order only, with longer lead times and higher waste charges.
How to Choose Tile Size by Bathroom Dimensions
Match tile size to room size using the one-third rule: no single tile should exceed one-third of the shortest wall or floor dimension.
This rule prevents tiles from looking oversized relative to the space. A 600 mm tile on a 900 mm-wide shower floor, for example, leaves just one and a half tiles across the width – visually awkward and practically difficult to install neatly.
Size Recommendations by Bathroom Type
- Cloakroom (under 2 m²): 300 mm × 300 mm floor; 300 mm × 600 mm or subway wall tiles
- Standard family bathroom (4–6 m²): 600 mm × 600 mm floor; 300 mm × 600 mm or 600 mm × 600 mm walls
- Large bathroom or en suite (6 m²+): 600 mm × 600 mm to 600 mm × 1200 mm floor and walls
- Wet room: 300 mm × 300 mm or mosaic floor for drainage gradient; large format walls
- Shower enclosure: 300 mm × 300 mm minimum on tray; 300 mm × 600 mm or larger on walls
Floor Tile Sizes: What Works and What Doesn’t
For bathroom floors, 300 mm × 300 mm to 600 mm × 600 mm delivers the best balance of grip, drainage, and visual proportion in most UK homes.
Floor tiles carry additional requirements that wall tiles do not. They must meet minimum slip-resistance ratings (R10 for domestic bathrooms), accommodate drainage falls in wet rooms, and withstand foot traffic without surface degradation.
- Tiles below 100 mm × 100 mm on floors increase grout density, which aids grip but demands more maintenance
- Tiles above 600 mm × 600 mm on floors require a perfectly level screed – any unevenness causes lippage
- Large-format floor tiles in wet rooms complicate gradient cutting; consult a tiler before specifying
Key Floor Tile Rules
- Always check the R-rating – size does not determine slip resistance
- Specify rectified tiles for large formats to allow tight grout joints
- Use a 3 mm minimum grout joint on floors to allow for thermal expansion
Wall Tile Sizes: Matching Format to Surface
The 300 mm × 600 mm tile is the most practical wall format for UK bathrooms because it covers surface area quickly with manageable weight per tile.
Wall tiles do not need slip ratings but do need to be light enough for adhesive to hold reliably on vertical surfaces. Very large wall tiles (above 600 mm × 1200 mm) require heavy-duty adhesive and mechanical fixing points in some substrate conditions.
- Small walls and splash-backs: 75 mm × 150 mm subway or 100 mm × 200 mm brick bond
- Standard bathroom walls: 300 mm × 600 mm in portrait or landscape orientation
- Feature walls and larger bathrooms: 600 mm × 600 mm or 600 mm × 1200 mm
- Shower enclosures: avoid tiles below 150 mm × 150 mm – more grout lines mean more potential ingress points
Orientation Changes the Perceived Proportions
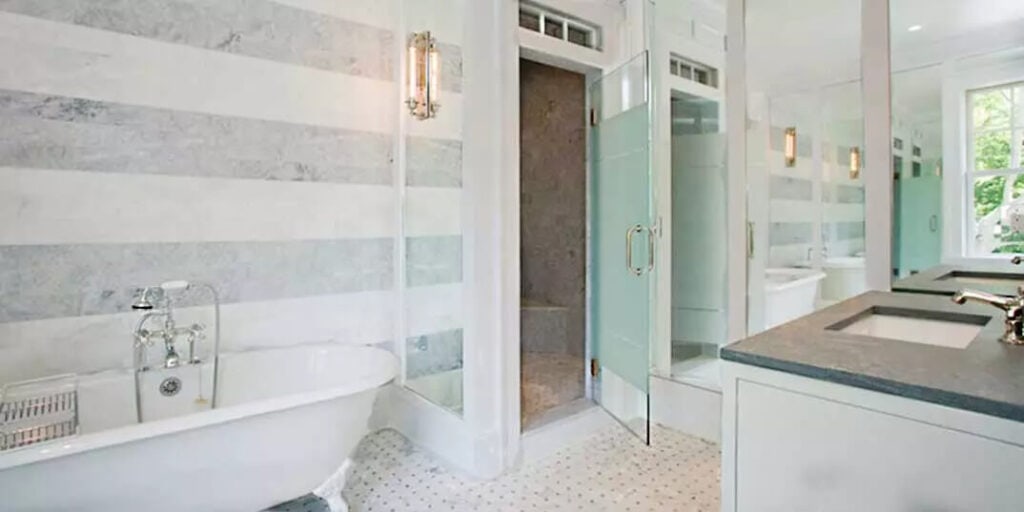
- Landscape orientation (tile wider than tall): makes walls feel broader and lower
- Portrait orientation (tile taller than wide): adds perceived height – useful in rooms with low ceilings
- Vertical subway: maximises ceiling height illusion in cloakrooms and narrow bathrooms
Large-Format Tiles: Specification Checklist
Large-format tiles above 600 mm × 600 mm demand specific substrate preparation, adhesive type, and installation skill to perform correctly long-term.
The bigger the tile, the less forgiving the installation. Any substrate movement, unevenness, or adhesive failure becomes visible immediately.
Before specifying large-format tiles, confirm the following:
- Substrate: timber floors need cement board overlay before large-format tiling; direct timber fixing is not suitable
- Flatness tolerance: BS 5385 requires a maximum 3 mm deviation under a 1.8 m straightedge for large-format tiles
- Adhesive classification: use S1 or S2 flexible adhesive; standard set adhesive is not suitable
- Tiler experience: large-format installation is a specialist skill; confirm your tiler has relevant experience before appointment
- Back buttering: adhesive must be applied to both the substrate and the tile back for full coverage
Tile Size and Grout Lines: The Practical Relationship
Grout joint width should increase proportionally with tile size to allow for thermal movement and prevent cracking over time.
A common mistake is specifying 1 mm joints on large tiles to achieve a minimal look. This restricts the tile’s ability to expand and contract with temperature changes – particularly relevant in bathrooms with underfloor heating.
- Mosaic tiles (under 100 mm): 1.5–2 mm joints acceptable
- Standard tiles (100–300 mm): 2–3 mm joints recommended
- Large format (300–600 mm): 3–5 mm joints minimum
- Slab format (above 600 mm): 5–10 mm joints; check manufacturer guidance
Grout colour has equal visual impact as joint width. Matching grout to tile colour minimises the visual grid effect regardless of tile size.
Calculating How Many Tiles You Need
Add 10–15% to your measured floor or wall area to account for cuts, breakages, and future repairs when ordering any tile size.
Measure each surface in metres squared. Multiply length by height for walls; length by width for floors. Add surfaces together, then apply the waste allowance.
- Standard format tiles (under 300 mm): add 10%
- Large format tiles (300–600 mm): add 12%
- Very large format or complex layouts: add 15%
- Diagonal layouts: add 15–20% – cutting waste increases significantly
Order from the same production batch. Tiles from different batches carry slight colour and size variations that become visible after installation.
Read How to Calculate How Many Bathroom Tiles You Need here.
Summary
Tile size selection follows a straightforward logic: match format to room scale, check substrate requirements for large tiles, and plan grout joints proportionally. The 300 mm × 600 mm wall tile and 600 mm × 600 mm floor tile cover the majority of UK bathroom projects reliably. Step up to large format only when the substrate, installation skill, and room dimensions genuinely support it – and always order 10–15% extra.