

Shower floors are the hardest surface to tile well in any bathroom. They need grip, drainage, water resistance, and visual coherence – often within a confined, irregular space. Mosaic tiles solve all four problems simultaneously, which is why they remain the most specified shower floor format among UK tilers and bathroom designers. This guide covers materials, sizing, layouts, grout, and the installation details that determine whether a mosaic shower floor lasts a decade or fails within a year.
Why Mosaic Tiles Are Ideally Suited to Shower Floors
Mosaic tiles conform to drainage gradients, deliver high grout-line density for natural grip, and accommodate curved or irregular shower tray shapes without excessive cutting.
Every other tile format fights the shower floor. Large tiles need perfectly flat substrates and precise gradient cutting. Planks crack across drainage falls. Mosaics flex with the surface — the mesh backing allows sheets to bend gently across gradients without breaking individual tiles.
The high number of grout lines per square metre also creates natural friction at foot level. That grip is built into the format itself, not dependent on a specific surface treatment.
Best Mosaic Tile Materials for Shower Floors
Unglazed porcelain mosaic tiles are the most practical material for shower floors – they carry reliable R10–R11 ratings and require no sealing in wet conditions.
Material selection determines both safety and longevity. Not every mosaic material performs equally in a direct-wet shower environment. The wrong material choice is the most common cause of mosaic shower floor failure.
Unglazed Porcelain Mosaics
Unglazed porcelain mosaics have a naturally textured surface, negligible water absorption, and consistent R10 or R11 slip ratings – the benchmark specification for shower floors.
The absence of a glaze means the surface texture is inherent to the tile body. It does not wear away or degrade with cleaning. Porcelain’s vitrified structure absorbs virtually no moisture, which prevents the tile body from deteriorating over time in a permanently wet environment.
- Water absorption: below 0.5%
- Slip rating: R10 minimum; many unglazed formats achieve R11
- Maintenance: no sealing required; weekly clean with ph-neutral cleaner
- Colour range: more limited than glazed options – whites, greys, stone tones dominate
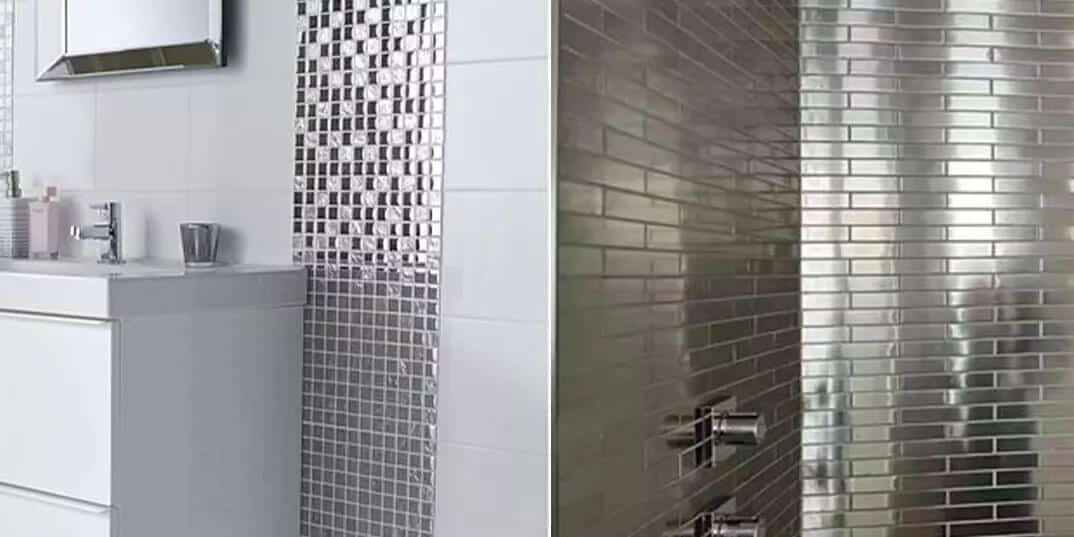
Glazed Ceramic Mosaics
Glazed ceramic mosaics are only suitable for shower floors if the product carries a confirmed R10 floor rating – the glaze itself does not provide grip without a textured surface.
Standard glazed ceramic mosaics are wall tiles sold in mosaic format. They carry no floor rating and become dangerous underfoot when wet. Many are marketed without clear floor/wall distinction – always check the technical datasheet, not the product description.
- Suitable glazed options: those with a deliberately textured or anti-slip glaze confirmed at R10
- Best applications for standard glazed ceramic mosaics: shower walls and niches, not floors
- Identification: the datasheet will list floor suitability and R-rating; if absent, do not use on floors
Glass Mosaics
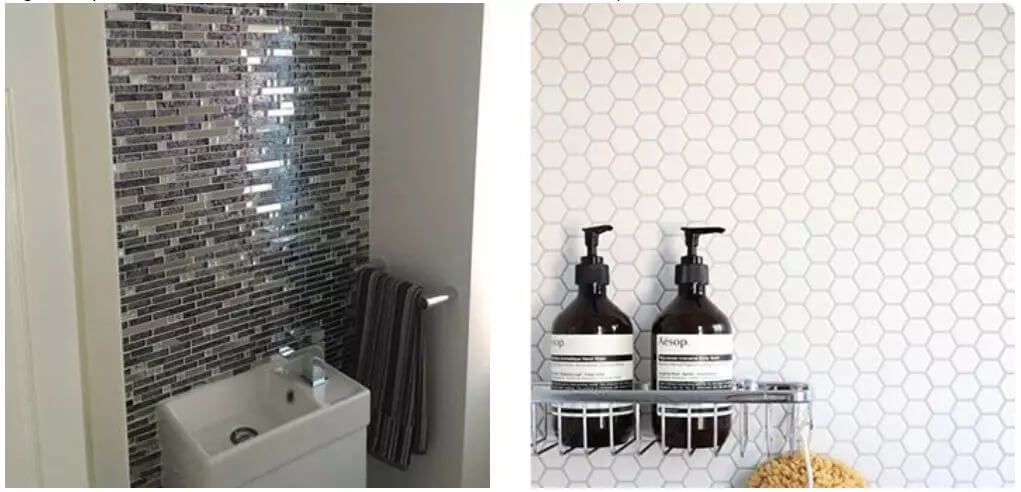
Glass mosaics are not suitable for shower floors – their smooth, non-porous surface becomes dangerously slippery when wet regardless of tile size.
Glass mosaics are the most visually striking mosaic option and perform exceptionally on shower walls, niches, and feature surfaces. On floors, they present a genuine safety risk. No surface treatment reliably corrects the slip hazard on a glass tile in a shower floor application.
- Correct applications: shower walls, niche liners, feature splashbacks, bath surrounds
- Never specify on shower floors or wet room floors regardless of finish
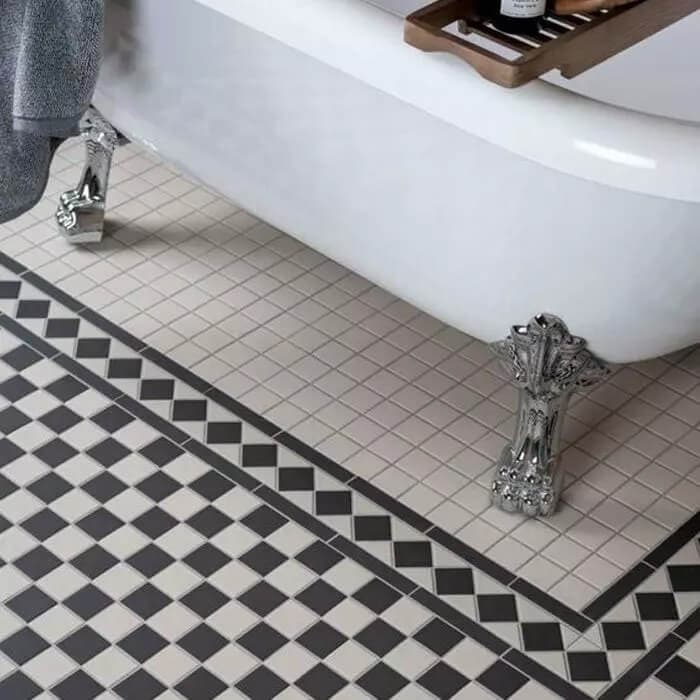
Natural Stone Mosaics
Tumbled or brushed natural stone mosaics – particularly slate, basalt, and travertine – can be used on shower floors when properly sealed and specified with confirmed slip ratings.
The key word is tumbled or brushed. Polished stone mosaics carry the same wet-surface slip risk as glass. Tumbled and brushed finishes create genuine surface texture that provides grip.
- Sealing requirement: apply penetrating stone sealer before grouting and annually thereafter
- Best stone types for shower floors: slate (natural split surface), basalt (honed), tumbled travertine
- Avoid: polished marble mosaics on floors; tumbled marble is acceptable with sealing
- Maintenance: more intensive than porcelain; unsealed stone in a shower deteriorates within months
Mosaic Tile Sizes for Shower Floors
Smaller mosaic formats (23 mm × 23 mm to 48 mm × 48 mm) perform better on shower floors than larger formats because they conform more closely to drainage gradients.
The mesh-backed sheet format allows mosaic tiles to follow curves and falls. Smaller individual tiles within the sheet flex more readily than larger ones. A 23 mm tile sheet conforms to a 15 mm drainage fall over 1 metre far more naturally than a 100 mm tile sheet.
Size Guide by Application
- 23 mm × 23 mm – maximum conformity to gradients; highest grip density; more grout to maintain
- 48 mm × 48 mm – the most practical balance of grip, gradient conformity, and cleaning ease
- 50 mm diameter penny round – popular in accessible bathrooms; good gradient conformity; suits period and contemporary schemes
- 75 mm × 75 mm – the upper limit for shower floor mosaics; gradient conformity reduces at this size
- 100 mm × 100 mm+ – not recommended for shower floors with drainage falls; better suited to flat wet room areas with linear drains
Layout and Pattern Options for Mosaic Shower Floors
A straight grid layout on mesh-backed sheets is the standard installation method – pattern variations are achievable but increase installation time and material waste significantly.
Most mosaic shower floors are installed sheet-by-sheet in a straight grid. The pattern within the tile – the arrangement of chips on the mesh – provides the visual interest. Complex secondary patterns require cutting individual tiles from sheets, which significantly increases labour cost.
Standard Grid (Sheet-by-Sheet)
The default installation. Sheets are laid in rows with consistent joint alignment between sheets. The grout lines between sheets should match the joints within sheets – this requires careful sheet spacing and is where most DIY installations fail visually.
- Always align inter-sheet joints with intra-sheet joints
- Use tile spacers between sheets as well as within them
- Start from the drain and work outward – this centres the layout on the most visible point
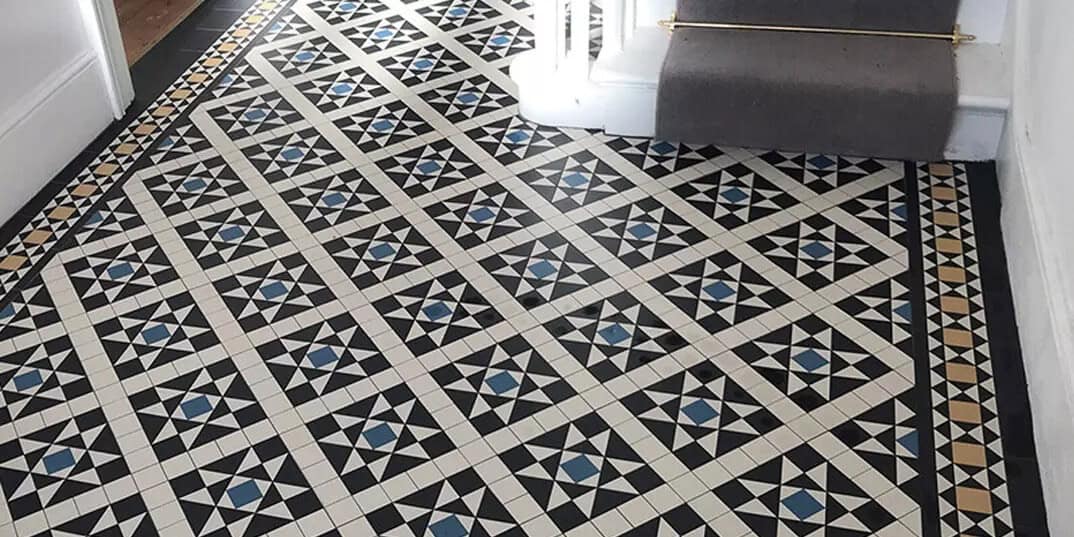
Diagonal Grid
Rotating the mosaic sheet 45 degrees creates a diamond orientation across the floor. This works well in square shower trays and adds visual movement without additional materials.
- Apply the same gradient-conformity logic; diagonal sheets still flex correctly
- Waste increases by approximately 15% for edge cuts at the tray perimeter
- Suits larger shower enclosures better than compact trays
Mixed Format – Mosaic Floor, Large Tile Walls
The most common professional specification pairing: mosaic floor for grip and drainage, large-format tile walls for visual calm and easy cleaning. The contrast between the fine floor texture and the plain wall surface works in both aesthetic and practical terms.
- Keep the mosaic and wall tile within the same colour family for visual coherence
- Consider running the wall tile down to the shower tray kerb – the mosaic starts at tray level only
- Use the same grout colour on both surfaces to unify the floor-to-wall transition
Grout Selection for Mosaic Shower Floors
Epoxy grout is the correct specification for mosaic shower floors – it resists staining, mould growth, and chemical degradation far better than cement-based grout in a permanently wet environment.
Mosaic shower floors have more grout per square metre than any other tiled surface. In a shower environment, that grout is constantly exposed to water, body oils, soap, and shampoo. Cement grout in this application stains, darkens, and begins to harbour mould within months.
Epoxy grout is harder to apply than cement grout – it sets quickly and requires careful timing. For most mosaic shower floors, a professional installation is strongly advisable.
Grout Colour Guidance
- Matching grout (close to tile colour): the surface reads as continuous; the mosaic pattern is subtle
- Contrasting grout: the individual tile shapes become visible; the grid pattern is the design feature
- White grout on white or pale mosaics: clean initial appearance; shows staining more readily than mid-tones
- Mid-grey grout: the most practical choice for maintenance; hides mineral deposits and soap residue between cleans
- Dark grout on pale mosaics: strong graphic effect; use deliberately rather than as a default
Waterproofing and Substrate Preparation
A fully tanked substrate – walls and floor – is mandatory before mosaic tiling in any shower enclosure, regardless of tile material or adhesive choice.
Tanking is not optional. It is the waterproof membrane applied to the shower substrate before any tiles are fixed. Without it, water penetrates the tile bed over time, causing adhesive failure, substrate deterioration, and eventual tile de-bonding.
Substrate Preparation Steps
- Apply a proprietary tanking system (liquid membrane or tanking mat) to all shower surfaces
- Pay particular attention to corners, joins, and the floor-to-wall junction – these are the most common failure points
- Allow full cure time before tiling – check manufacturer’s guidance; typically 24 hours minimum
- Use a flexible S1 or S2 adhesive over the tanked surface; standard set adhesive is not suitable in a shower environment
- Back-butter mosaic sheets as well as applying adhesive to the substrate for full coverage
Cleaning and Long-Term Maintenance
Mosaic shower floors need weekly cleaning with a stiff grout brush and ph-neutral cleaner – the high grout density that provides grip also collects soap and mineral deposits.
This is the maintenance reality of mosaic floors. The grout channels that make them safe are the same channels that accumulate residue. A squeegee after every shower significantly reduces weekly cleaning time.
Maintenance Schedule
- After every shower: squeegee or wipe the floor dry; removes surface mineral deposits before they bond to grout
- Weekly: scrub with a stiff grout brush and ph-neutral bathroom cleaner; rinse thoroughly
- Monthly: apply a grout cleaner to remove accumulated soap scum; particularly important in hard-water areas
- Annually (stone mosaics only): reapply penetrating stone sealer; do not skip this step on any natural stone floor
A handheld steam cleaner used monthly on epoxy-grouted porcelain mosaic floors removes residue from grout channels without chemicals and without degrading the grout.
Summary
Mosaic tiles succeed on shower floors because their format solves the problems that defeat every other tile type – gradients, grip, and irregular shapes. Specify unglazed porcelain for the most practical performance, keep individual tile size between 23 mm and 48 mm for optimal gradient conformity, and use epoxy grout without exception in direct-wet shower applications. Tank the substrate before tiling, align inter-sheet joints with intra-sheet joints during installation, and squeegee after every shower. Every other decision – colour, pattern, stone type – is secondary to getting those fundamentals right.